

Installation Guide for NordPaneele Wall Panels
With the NordPaneele Drop-Click system, installation is possible even without professional skills. Follow this step-by-step guide for a perfect result.
- 15–20 min/m²
- No drilling
- 100% waterproof
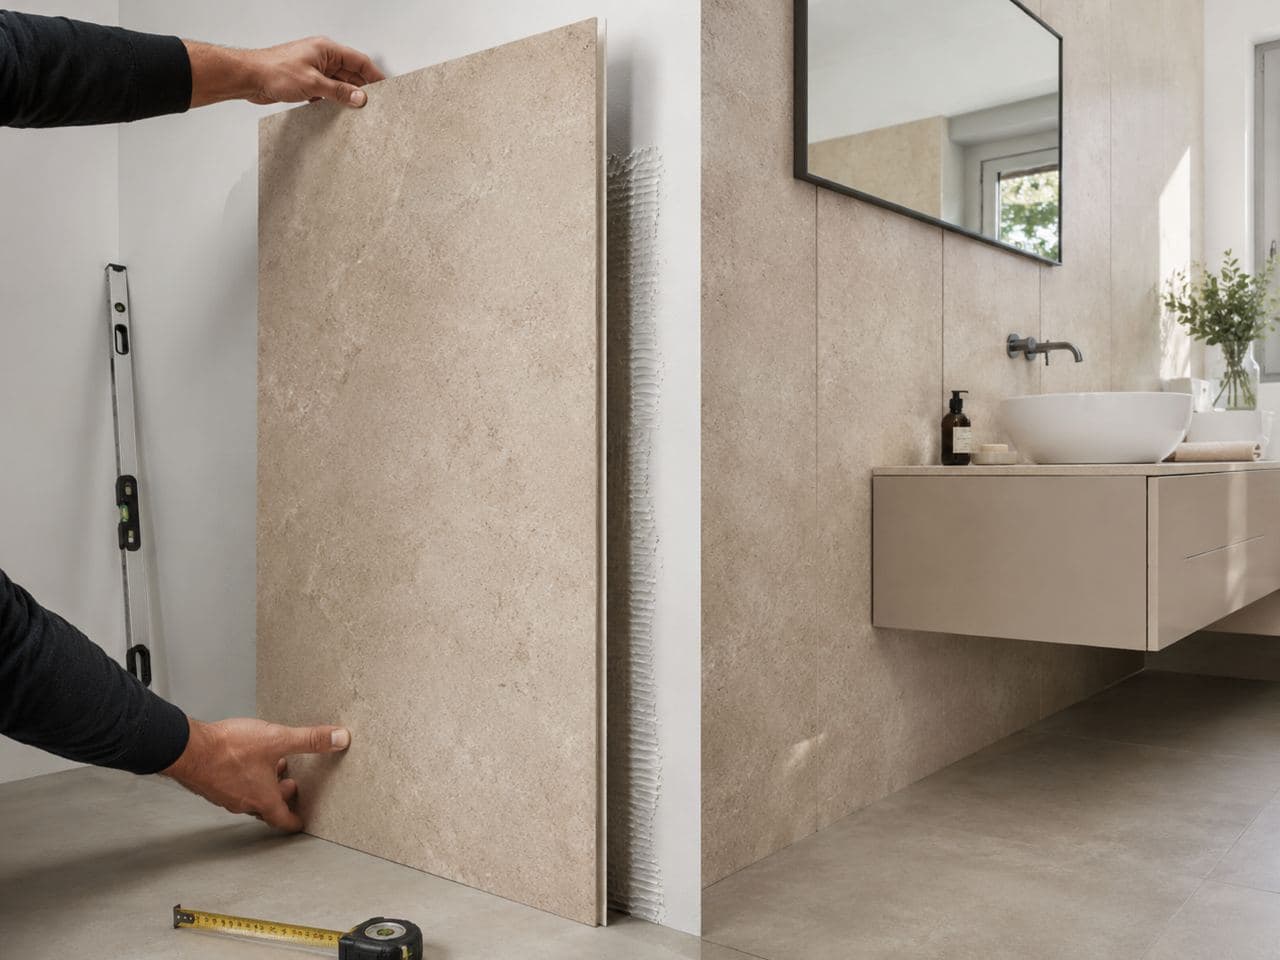
Three installation methods
Choose the method that suits your surface and room.
Floating installation with the Drop-Click system: panels hook in at a 15-degree angle and snap into place without tools. Ideal for level surfaces – no drilling, no adhesive, and removable later without damage.
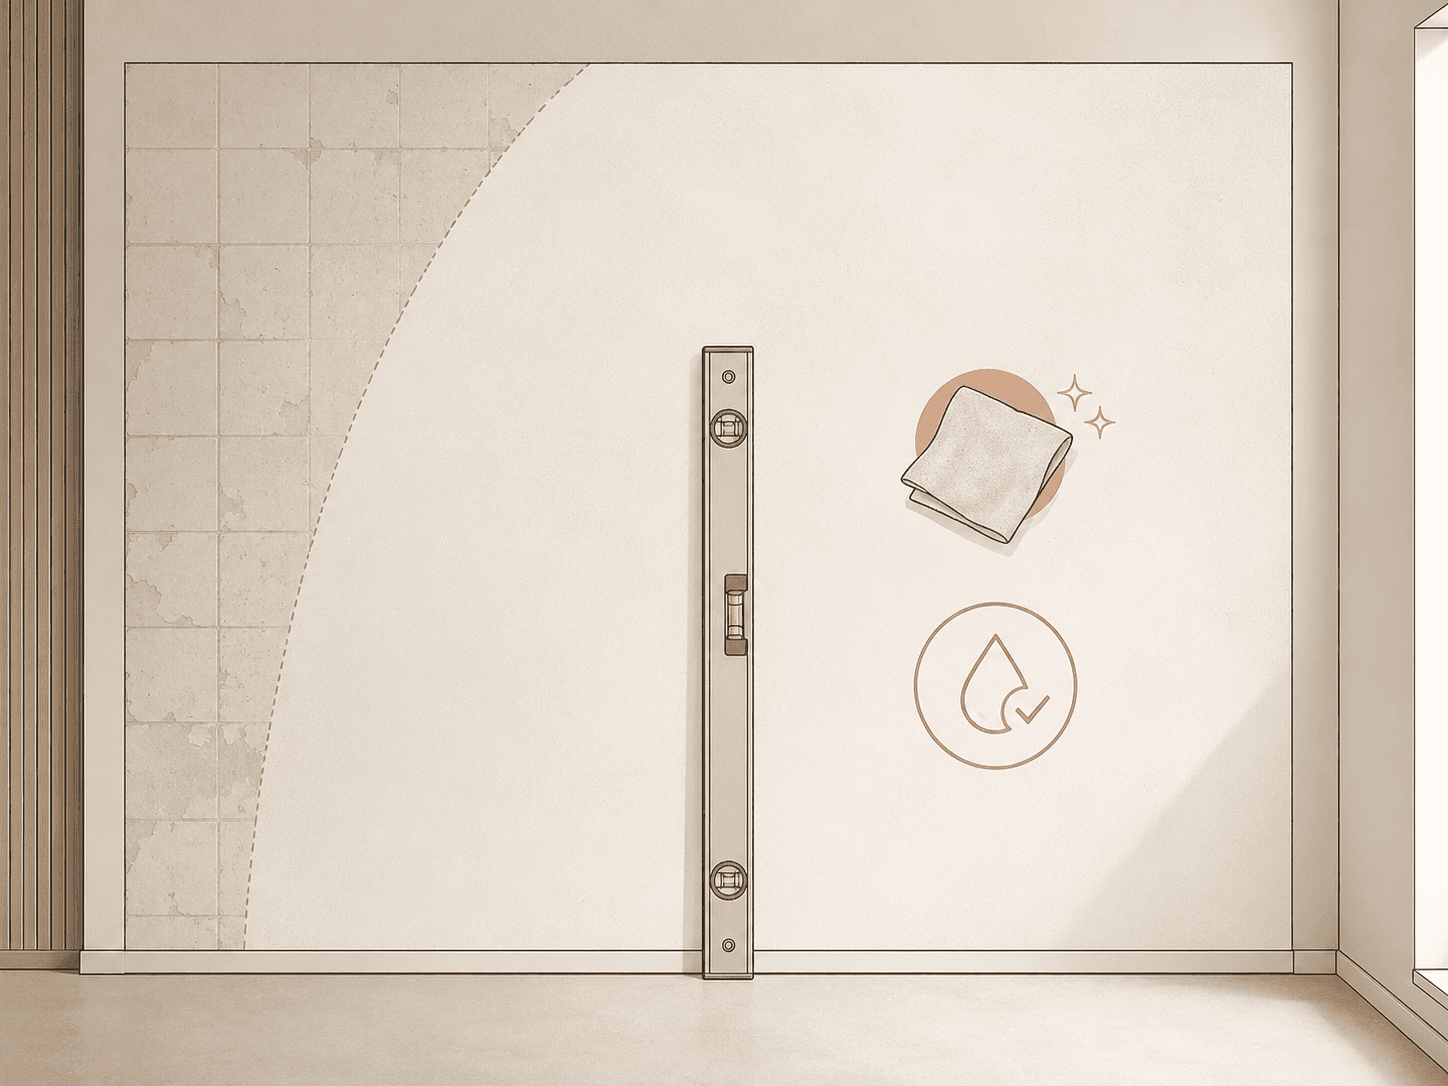
Prepare the Surface
Make sure the wall is clean, dry, and level. Unevenness greater than 3 mm should be leveled out. Remove loose wallpaper or crumbling plaster. A smooth surface is the foundation for a perfect result.
Acclimate the Panels
Store the panels in the target room for at least 24 hours before installation. The room temperature should be between 18 and 25 degrees Celsius. This allows the material to adjust to temperature and humidity, preventing future tension.
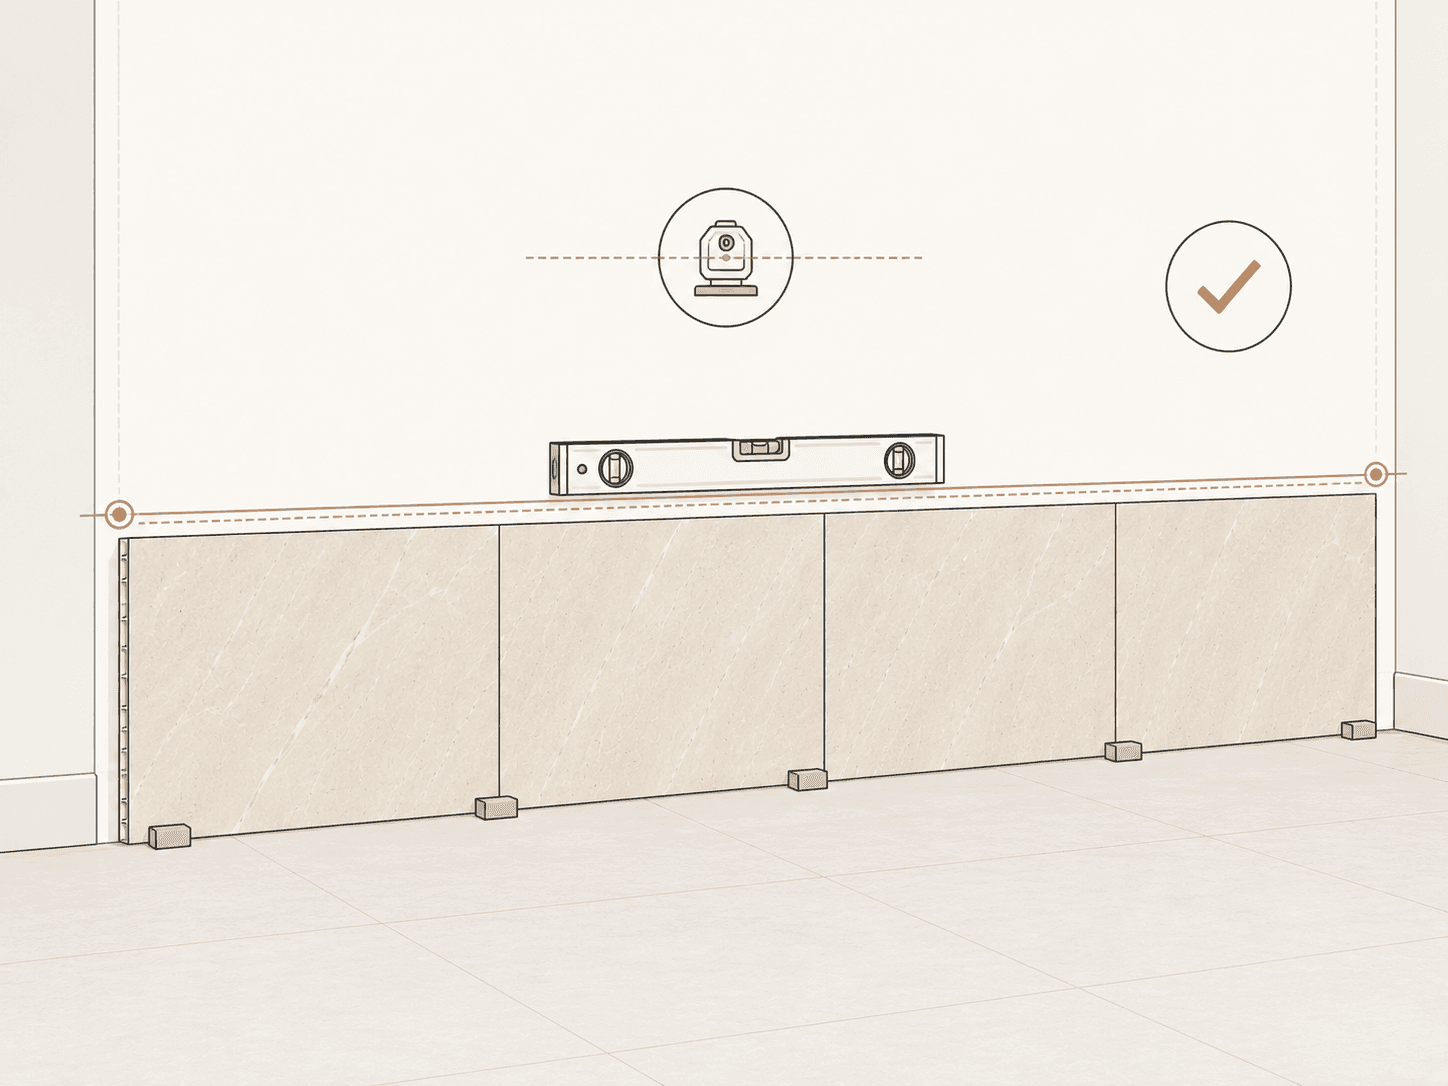
Align the First Row
Start in a corner and work from bottom to top. Use a spirit level to align the first row precisely. An accurate first row is crucial for the overall joint pattern.
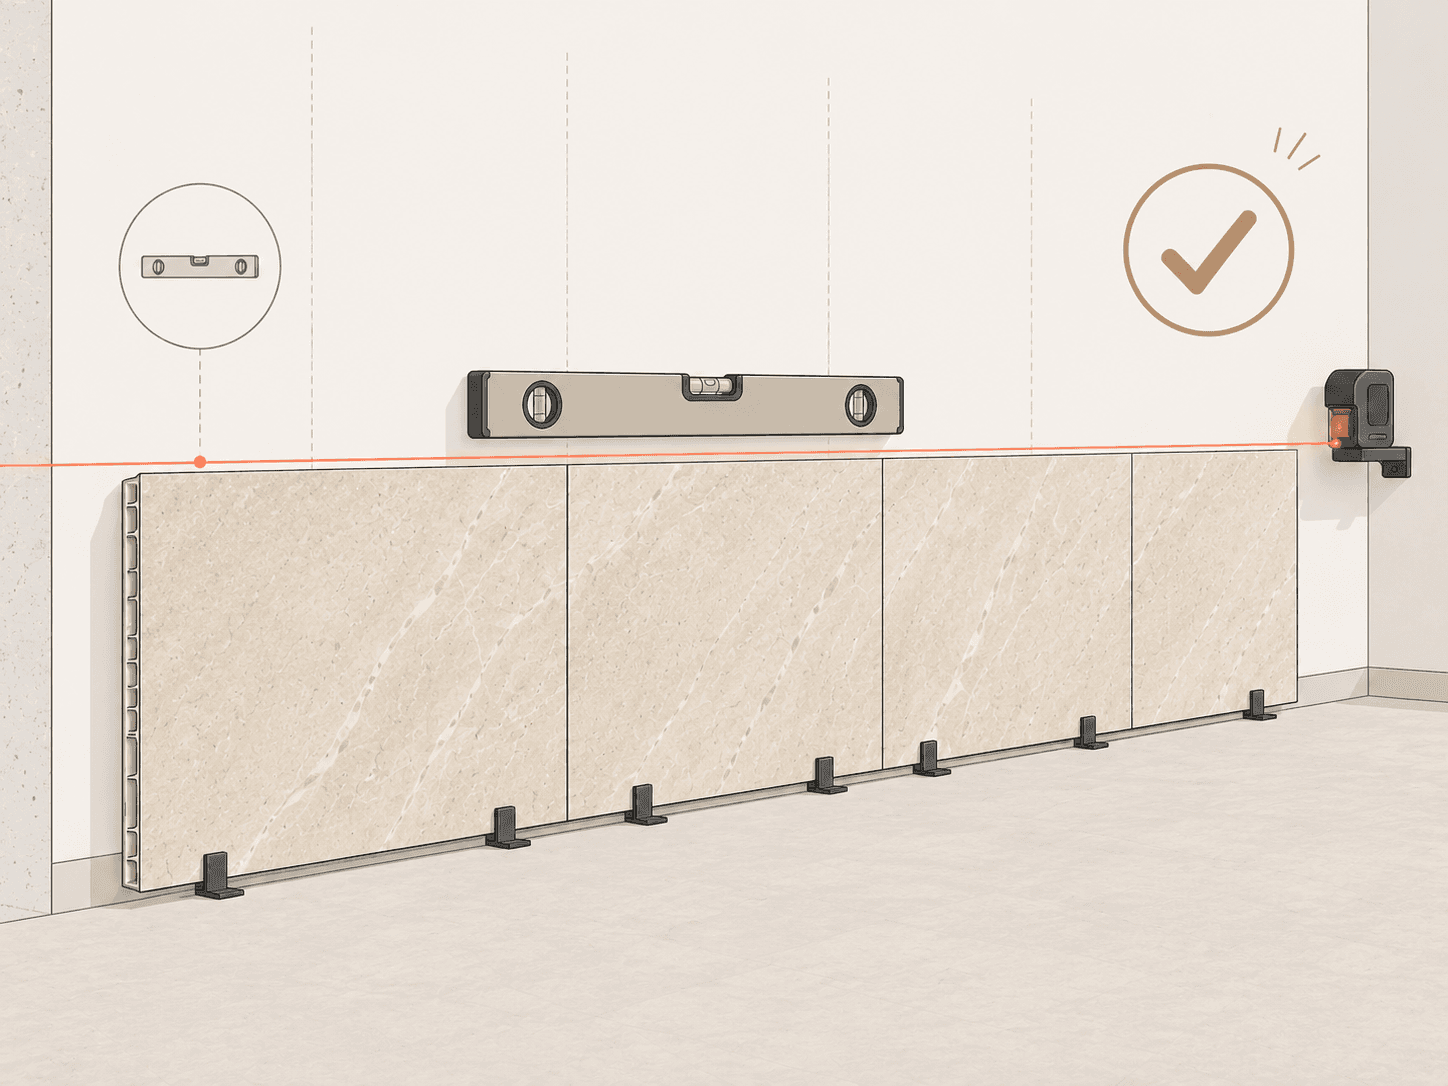
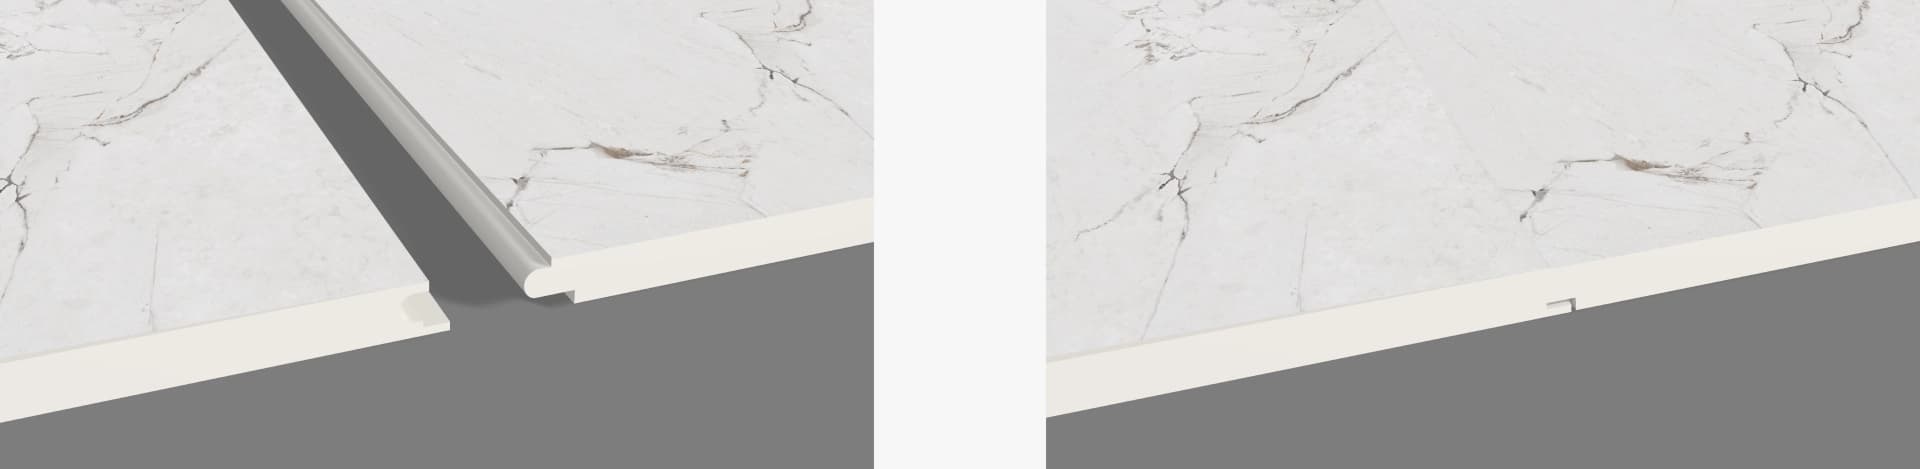
Connect the Click System
Place each panel at a 15-degree angle against the groove of the previous panel and press it gently downward until it clicks audibly into place. The Drop-Click system allows a secure connection without tools or adhesive.
Cut and Fit
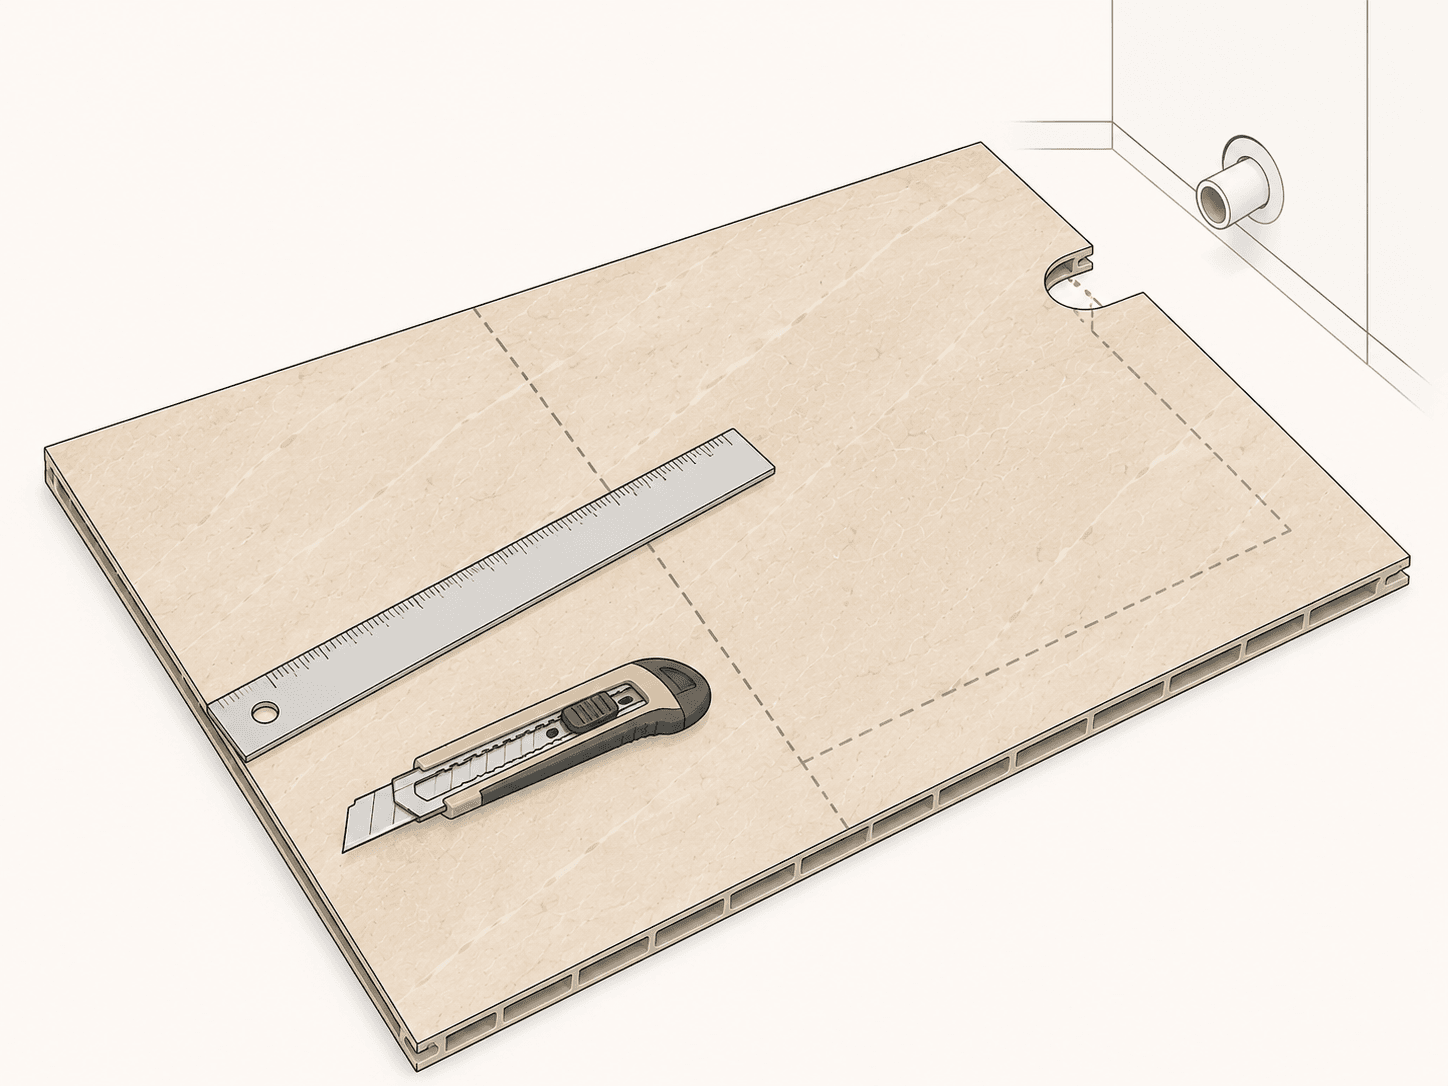
Carefully measure the required length and cut the panels using a jigsaw or a utility knife with a guide rail. For outlets and cables, you can create cutouts using a hole saw.
Install Trim Profiles
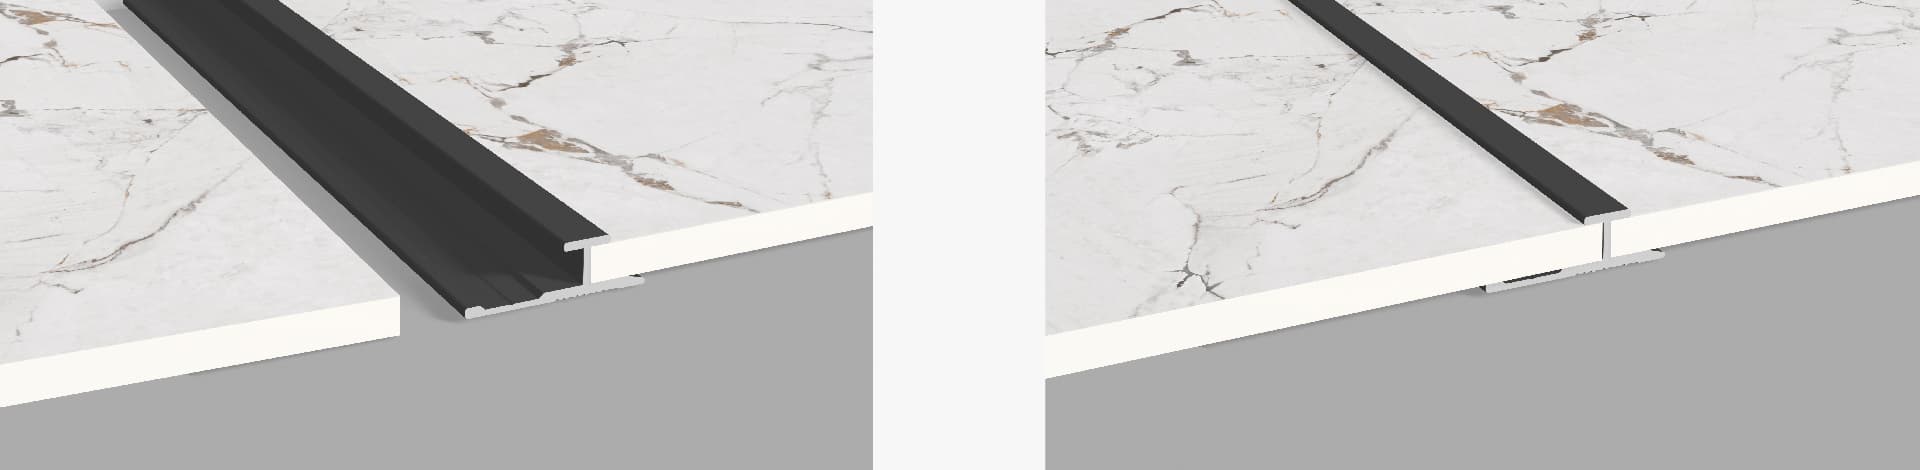
Finally, attach the matching corner and trim profiles. These cover the cut edges and ensure a clean, professional appearance. Secure the profiles with mounting adhesive or screws.
Tools Needed
Avoid common mistakes
Frequently asked questions
How long does installation take per square meter?
With the click system, an experienced DIYer needs about 15–20 minutes per m² including cuts. A 10 m² room is realistically achievable in a single morning.
Does the wall need preparation?
The wall should be clean, dry, and reasonably flat. Small unevenness up to 3 mm is compensated by the system. For larger waves, primer or a thin layer of filler helps.
Can I use NordPaneele in the bathroom?
Yes. Our SPC panels are 100% waterproof and approved for wet rooms such as bathrooms and kitchens. We still recommend sealing joints near shower areas with sanitary silicone.
What tools do I need?
Tape measure, pencil, utility knife or fine hand saw, rubber mallet, spirit level. No specialty tools required — not even a drill if you work exclusively with the click system.
Do I need a substructure?
No. NordPaneele mount directly to the wall — either floating via the click system or glued. No battens required, so no room loss.
How do I cut panels to size?
Score several times with a sharp utility knife and snap at the edge. For outlet cutouts or curves, a fine jigsaw blade rated for PVC / laminate works best.
Can I disassemble the panels later?
With click-system installation, yes — panels can be removed in reverse order without damage. Fully glued installations can only be removed with panel loss.
How do I clean NordPaneele after installation?
A damp microfiber cloth suffices for daily cleaning. For stubborn dirt, use a pH-neutral all-purpose cleaner. Avoid abrasive sponges or solvents like acetone — the PU coat protects but isn't indestructible.
Discover matching wall panels
Got the installation down? Now find the right decor for your project.
Looking for Professional Installation?
Our network of experienced installers handles the professional installation of your NordPaneele panels. Contact us for a no-obligation quote.
Get in TouchOrder your free sample now
Convince yourself of the quality of our SPC wall panels — free, up to 3 samples, delivery in 2–3 business days.
Request free samplesWall panels →