

BATHROOM TILE ALTERNATIVE
Bathroom Tile Alternative: SPC Wall Panels – seamless, waterproof, no contractor needed
Classic bathroom tiles break every wall into a grid — interrupted by silicone lines that turn grey after two years. Our SPC wall panels offer the architectural alternative: seamless, 100% waterproof, installed over the old wall in a single morning.
Pay by invoice · 30-day returns · free delivery from €299
The key facts at a glance
- No grout lines — no mould
- Installs over existing tiles
- From €29.99/m² incl. delivery
- 100% waterproof — approved for shower walls
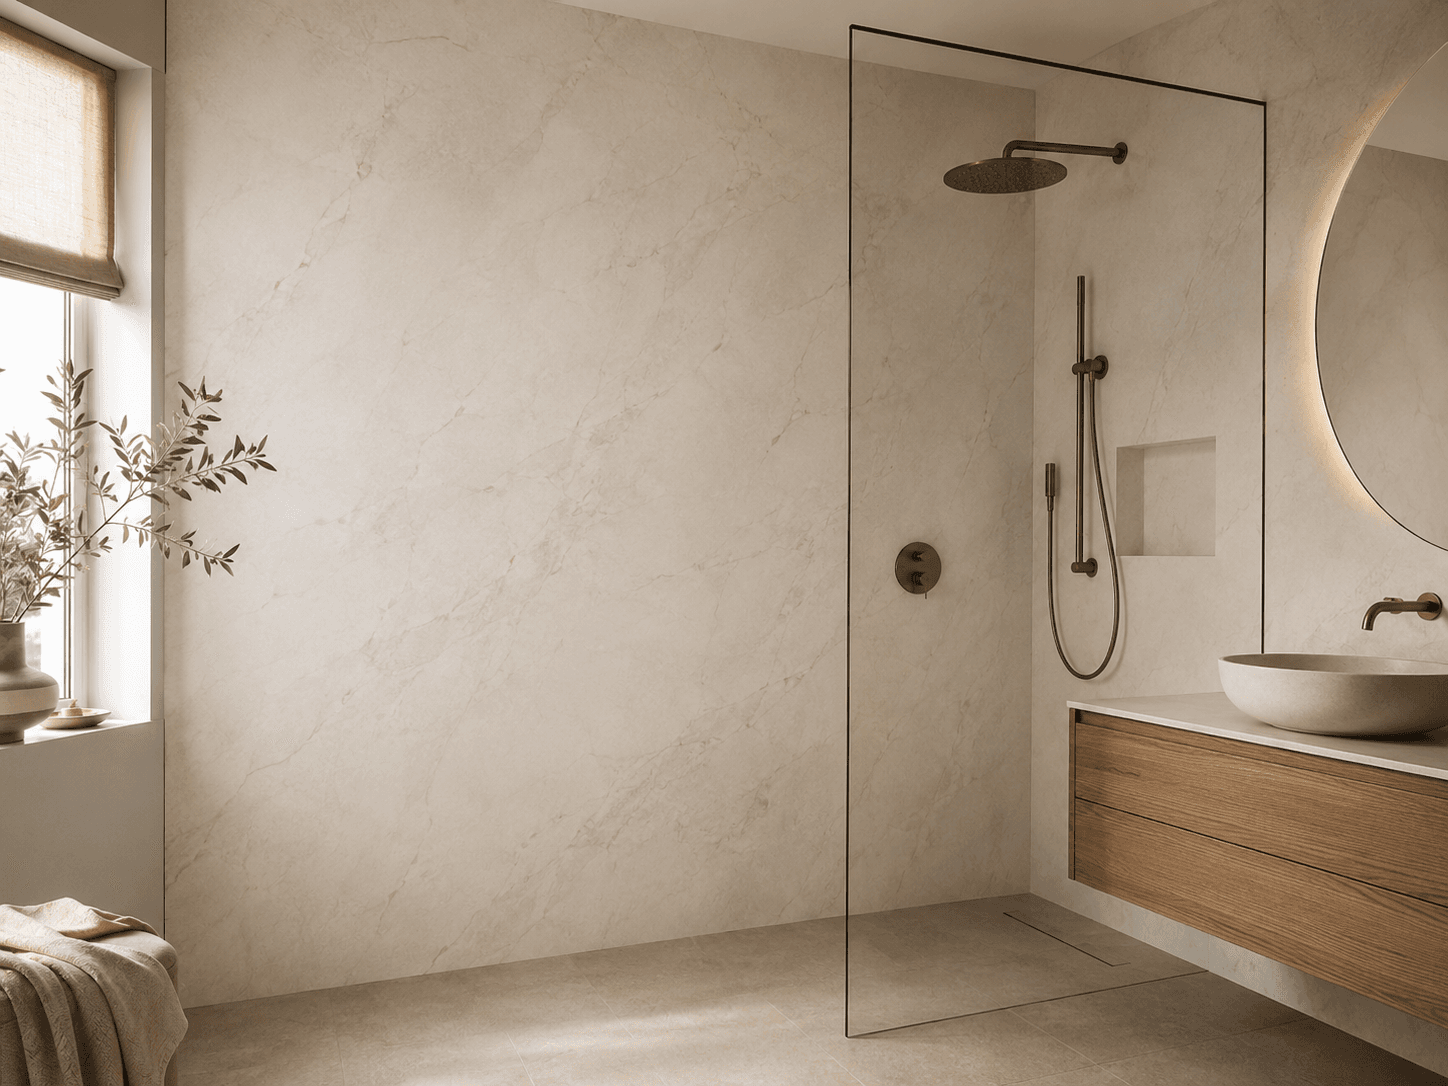
100% waterproof
SPC core — approved for shower walls too
Installs over old tiles
No tear-out, no contractor required
Seamless
No mould traps, no greying grout
B1 fire-rated
DIN EN 13501-1 · 10-year warranty
MATERIAL COMPARISON
SPC · tiles · microcement · PVC — the direct comparison
| Criterion | SPC Wall Panels | Ceramic Tiles | Microcement | PVC Vinyl |
|---|---|---|---|---|
| Grout lines | None | Required | None | None |
| 100% waterproof | ✓ Yes | ⚠ Only w. sealing | ✓ Yes | ⚠ Partly |
| Over existing tiles | ✓ Drop-Click | ✗ Not possible | ✓ Skim-coated | ✓ Glued |
| No telegraphing | ✓ Rigid SPC core | — | ✓ Yes | ✗ Soft core |
| Weight (kg/m²) | 4 kg | 20–30 kg | 8–12 kg | 2 kg |
| Cost (material) | €29.99–65/m² | €25–80/m² | €80–200/m² | €8–20/m² |
| Mould risk | Very low | High (grout) | Low | Medium |
| Durability | 10-year warranty | Decades ✓ | ~15 years | 5–8 years |
| DIY-installable | ✓ Yes | ✗ Specialist | ✗ Specialist | ✓ Yes |
SPC — right when:
- Existing tiles are firmly bonded
- You plan to do it yourself
- Seamless & mould-resistant is the priority
- You want fast delivery (2–3 working days)
Ceramic tiles — better when:
- It's a new build with no existing surface
- Decades of durability is decisive
- Raising the property value is the priority
- Professional installation is planned anyway
Six reasons for the seamless alternative
- 1
Seamless large formats
Panel heights up to 2.8 m — floor to ceiling as a single surface. No interrupting grout lines, no silicone edges, no black lines.
- 2
A true-to-material stone look
Photorealistic printed decors with a tactile surface texture — synchronised embossing. The eye sees stone, the hand feels stone.
- 3
Approved for shower & splash zones
100% waterproof SPC core, approved by trade associations. End profiles stop water from running behind at the tub edge.
- 4
Installation without demolition
Straight onto old tiles, plasterboard or plaster — Drop-Click needs no sub-frame. A bathroom in one afternoon is realistic.
- 5
Mould prevention
No grout = no mould trap. SPC gives microorganisms no foothold — the most common failure point of bathroom tiles.
- 6
No telegraphing
The rigid mineral core (70–80% limestone) stops old tile joints from showing through — unlike soft PVC vinyl.
COST COMPARISON
What does a bathroom renovation really cost?
Basis: a 4 m² shower bathroom, 1 person, 1 day of DIY. Prices incl. delivery, with no hidden contractor costs.
Traditional tile renovation
Tiler + tear-out + material + sealing + grout
Total (4 m²)
€810–1,030
SPC Wall Panels — NordPaneele
Panels from €29.99/m² · no tear-out · no tiler · click-together DIY
Total (4 m²)
from €119.96
4 m² × €29.99/m² — done in one afternoon
STRAIGHT OVER OLD TILES
Tear out the old tiles? Not necessary.
As long as the existing tiles are firmly bonded and the wall is no more than 3 mm out of true per running metre, you install straight over them. No tear-out, no contractor, no dust.
The Drop-Click system compensates for minor unevenness. Larger steps are corrected in minutes with a thin levelling compound. A bathroom renovation in a single day is realistic.
Order samples & check for yourselfThree steps to a finished wall
- 1
Check the substrate
Tap the tiles: firmly bonded? Out of true under 3 mm/m? Fill coarse unevenness with rapid-set cement.
- 2
Prepare
Degrease + dust off the surface. No primer needed. Pull out wall sockets.
- 3
Click & done
Measure panels, cut them (circular saw or utility knife), snap in the Drop-Click. End profile + sanitary silicone at the tub edge.
Where in the bathroom are panels used?
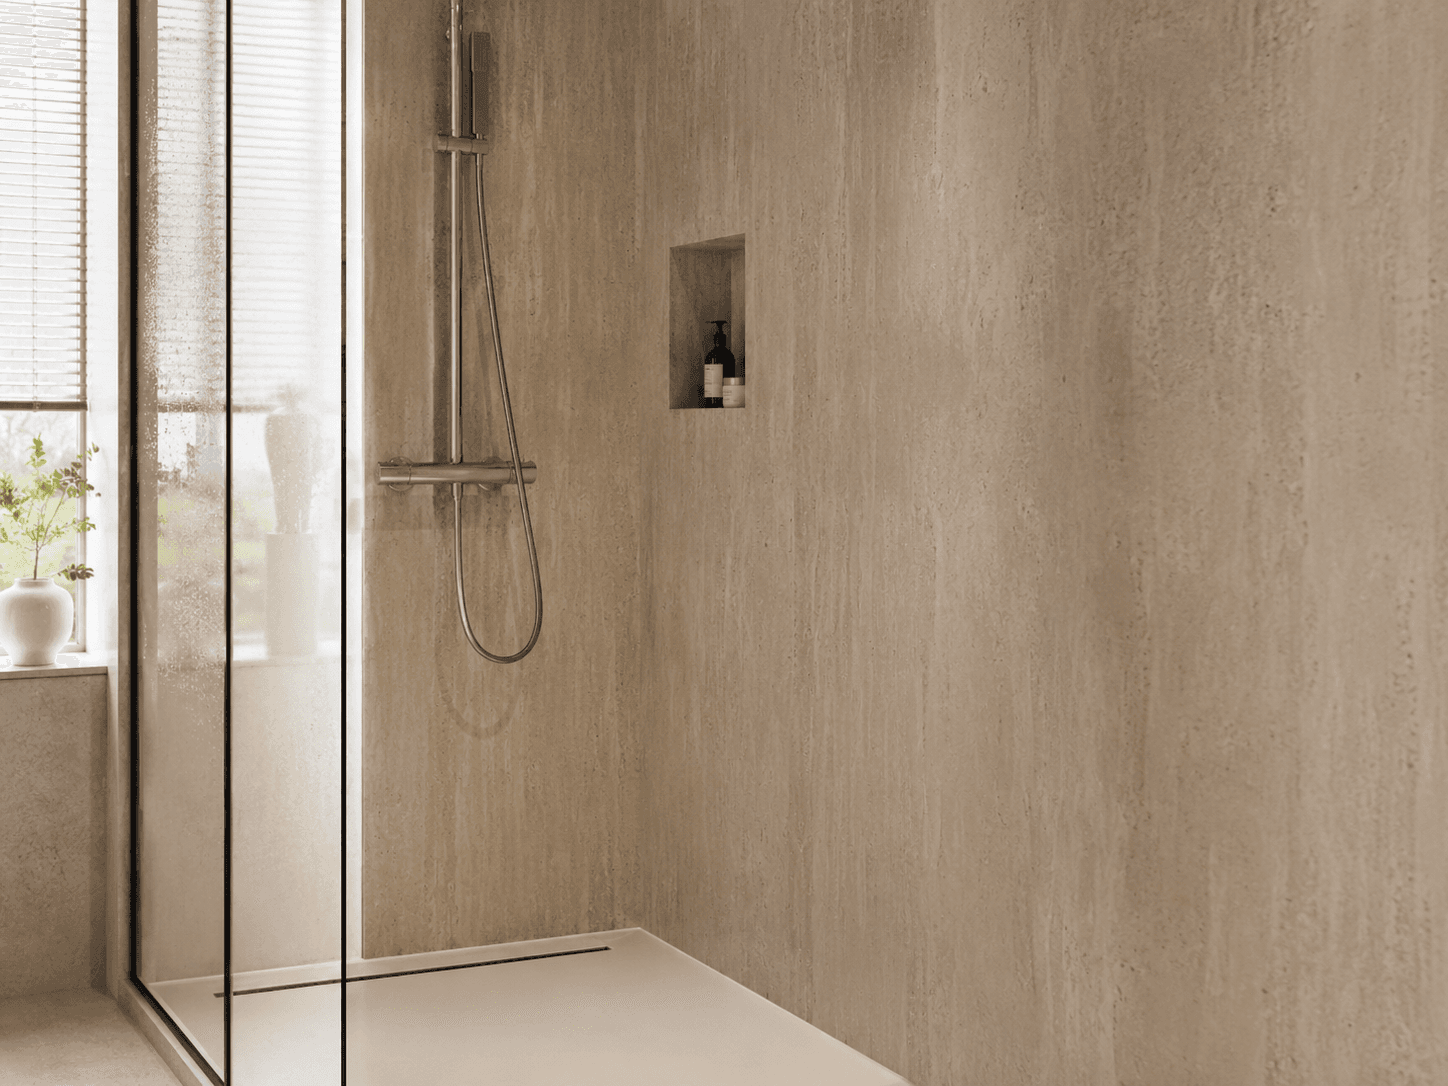
Shower & shower wall
100% waterproof SPC core, approved by trade associations as a shower wall. One panel up to 2.8 m high. No mould.
Go to the shower-wall page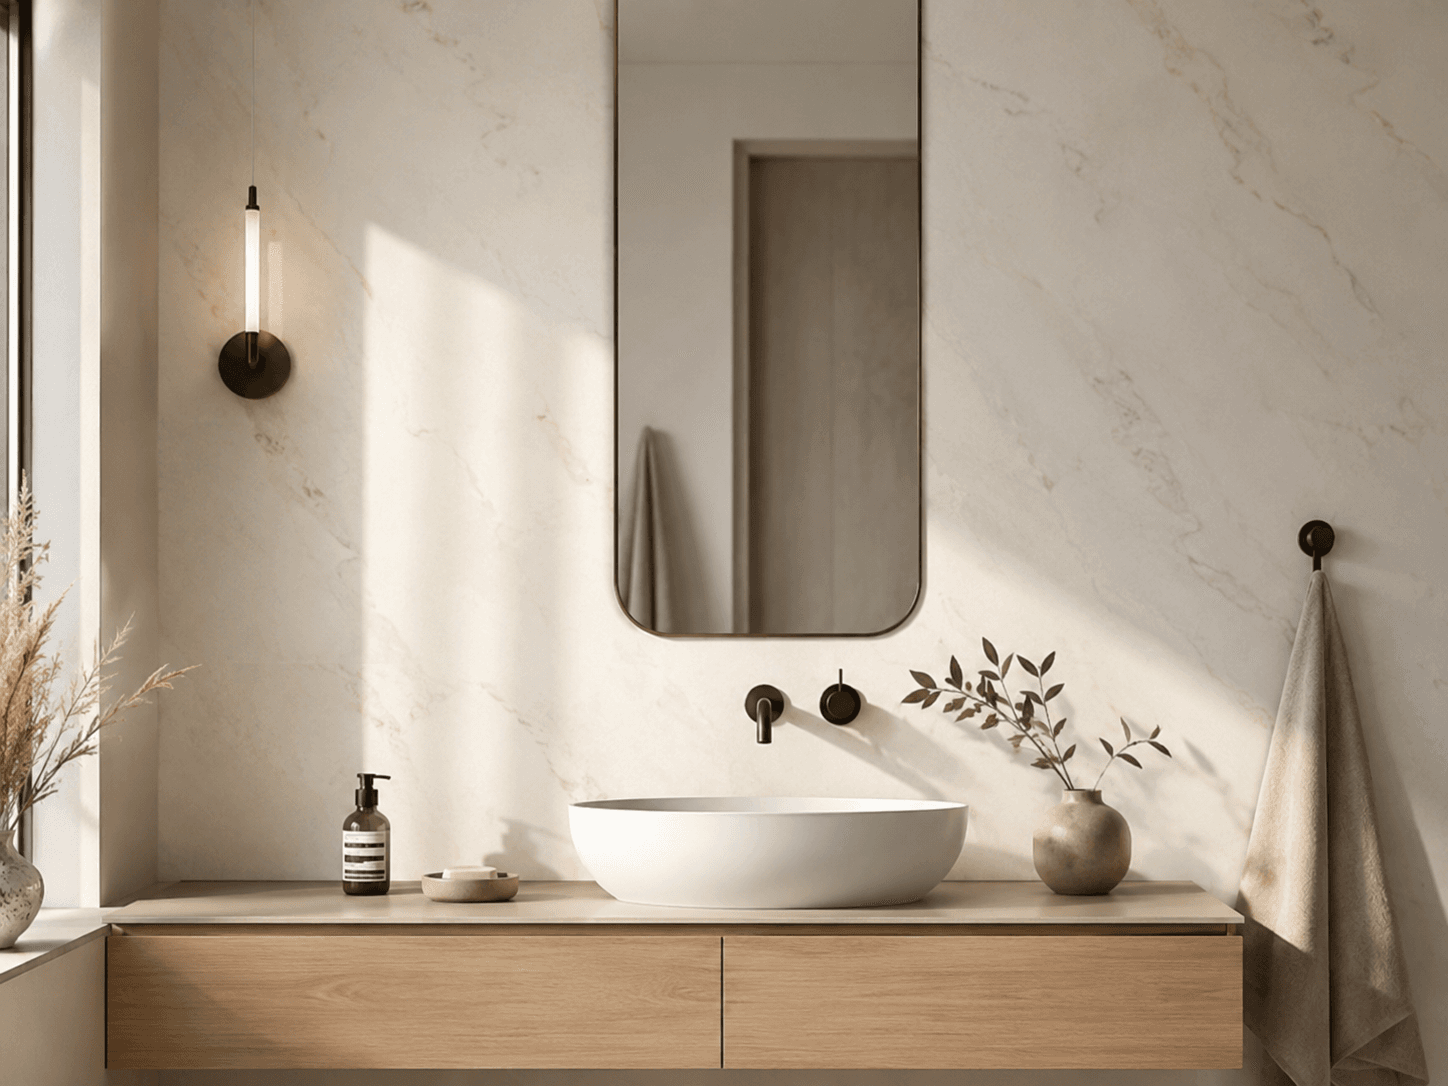
Vanity wall
One continuous marble surface instead of 20 individual tiles. Seamless, easy-care, installed in 30 minutes.
Bathroom wall panels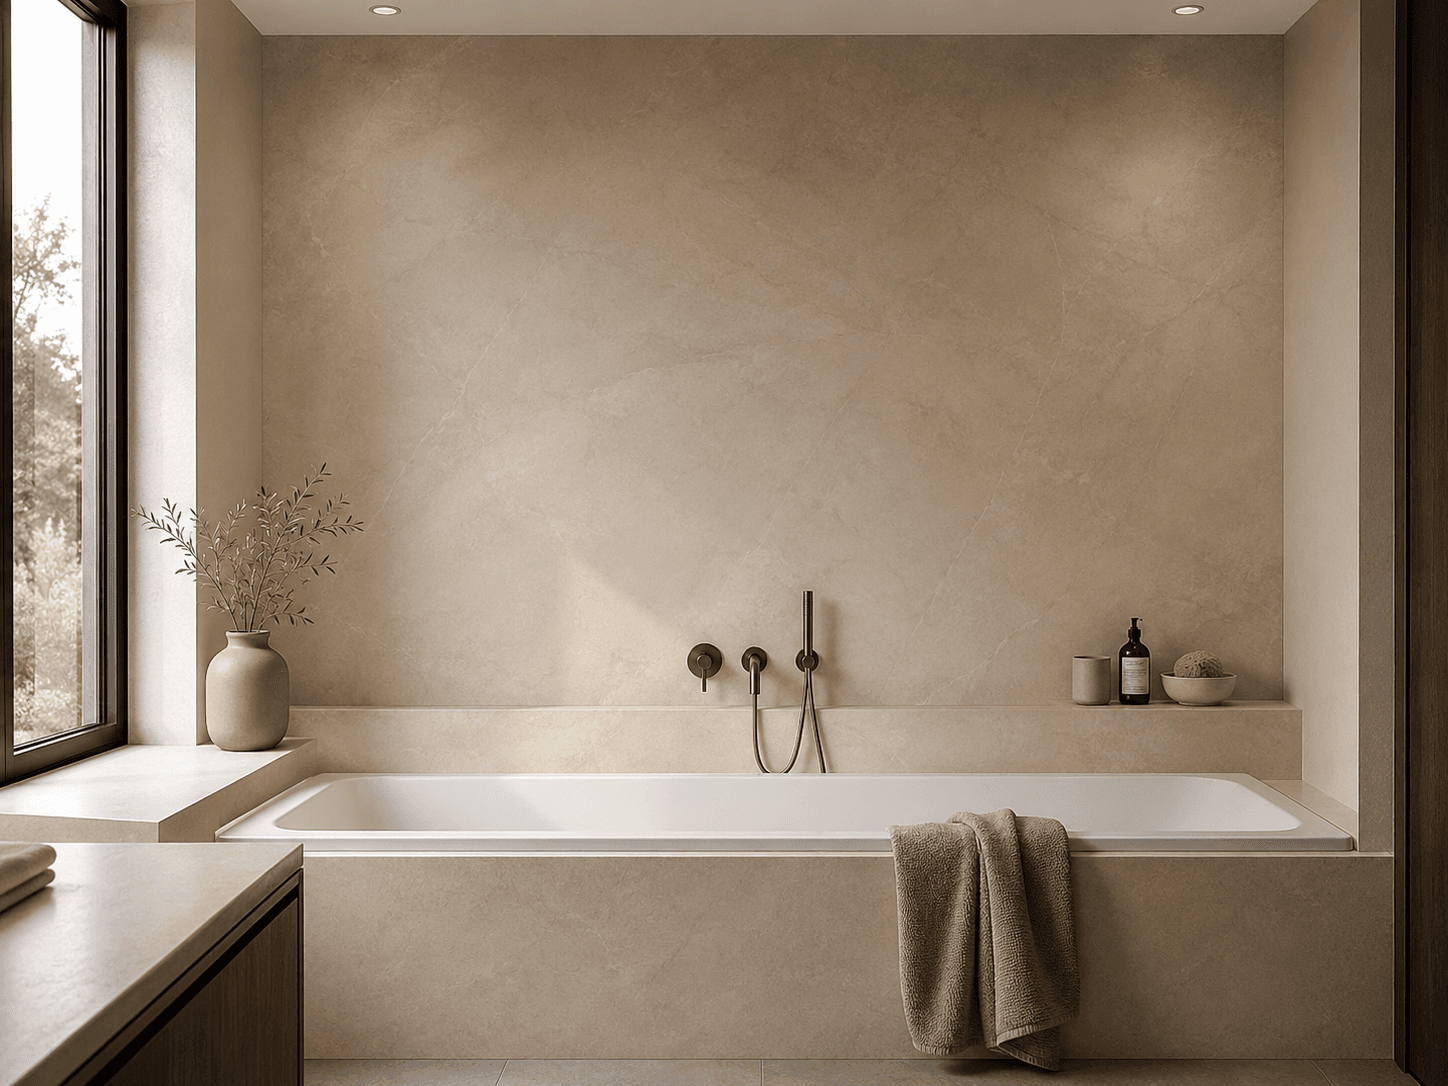
Bathtub alcove
The backing wall of the bathtub — one decor, one height, no silicone edge that darkens over time. Straight onto old tiles.
Bathroom wall panels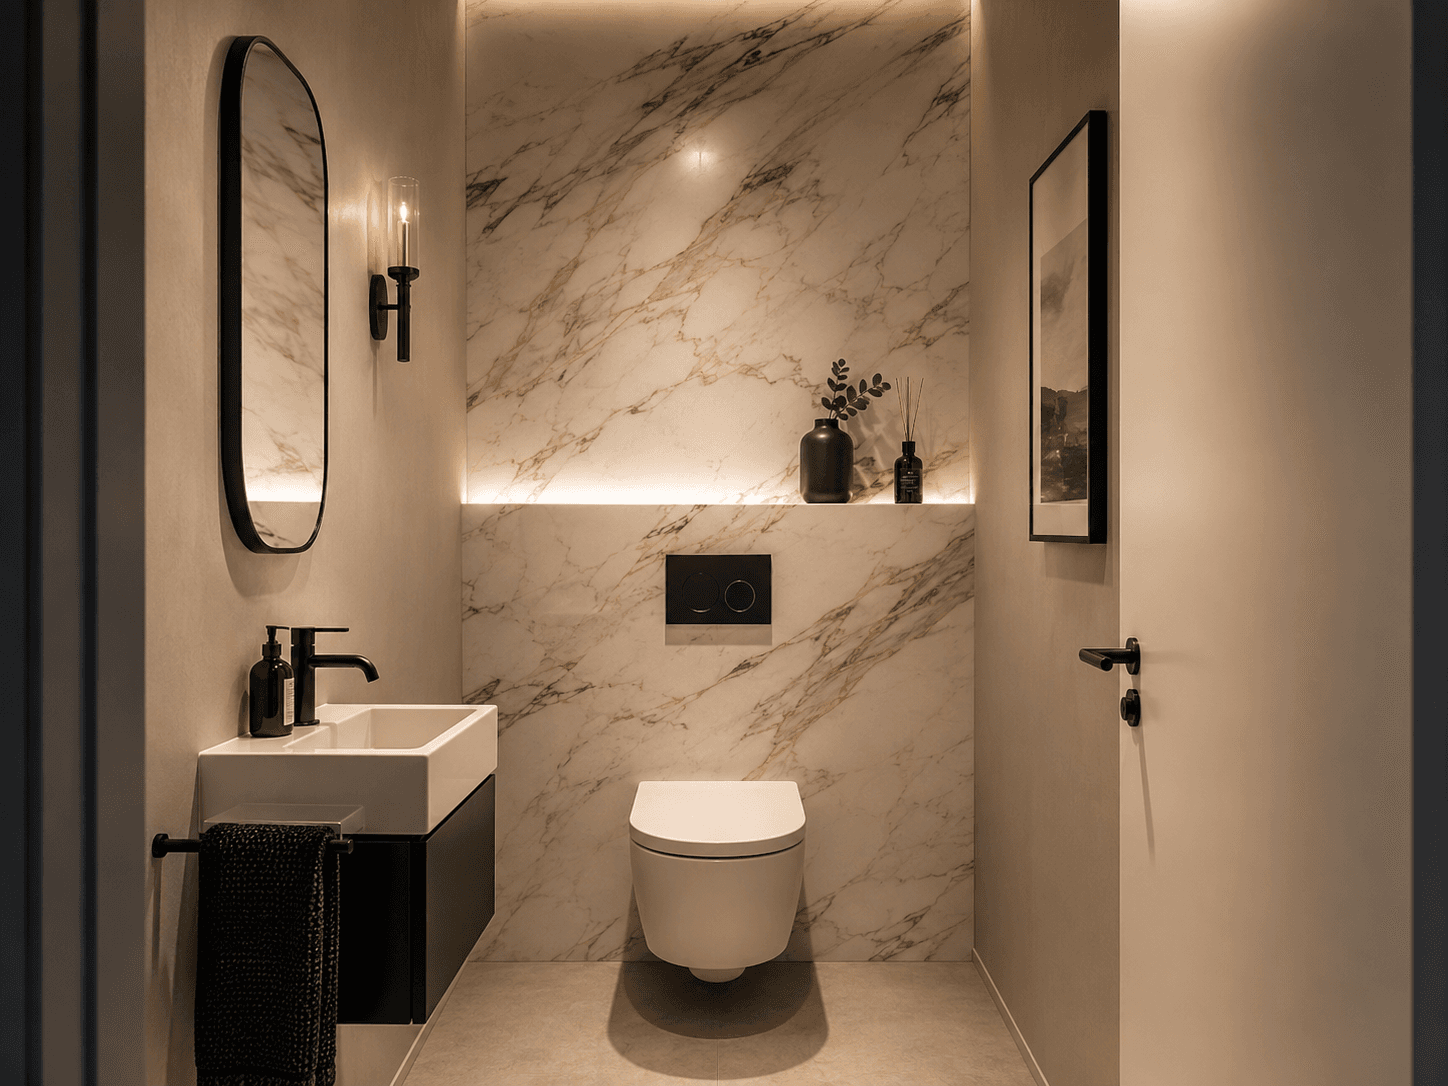
Guest WC
Small room, big effect. One accent wall in a marble look — installed in under 2 hours.
Bathroom wall panels
How to install SPC wall panels in the bathroom — step by step
Standard shower approx. 5 m²: total time 4–6 hours
- 01
Check the substrate
~20 min.Old tiles: firm, clean, grease-free. Re-bond loose tiles with tile adhesive. Optionally sand for grip.
- 02
Acclimatisation
24 hr.Acclimatise the panels lying flat at room temperature (18–25 °C) for 24 hours. Important for dimensionally stable clicking.
- 03
Measure & cut
~40 min.Measure the area, cut the panels to size with a saw or utility knife. Mark and cut out openings for windows and fittings.
- 04
Align the first row
~20 min.Use a spirit level to set the first row of panels perfectly horizontal. This row determines the run of every row above it.
- 05
Snap in the Drop-Click
~90 min.Insert and snap in the following rows at a 30° angle. Light pressure is enough — no glue, no tools. Stagger the end joints.
- 06
Seal corners & transitions
~40 min.Cover internal and external corners with matching profiles. Seal the transitions to floor and ceiling with sanitary silicone.
- 07
Fit the trim strips
~20 min.Hide the top edge with a trim strip. Mask off, apply silicone, smooth it off. Done: a seamless shower.