17. April 2026
Duvar Panellerinin Montajı: 9 Adımda Tam Kılavuz
Covering a 6 m² wall with SPC panels takes, if you know all the tricks, under two hours. When it takes longer, one of five typical mistakes has usually crept in. This guide shows step by step how installation really works — and which mistakes to avoid.
Before Installation: Tools and Preparation
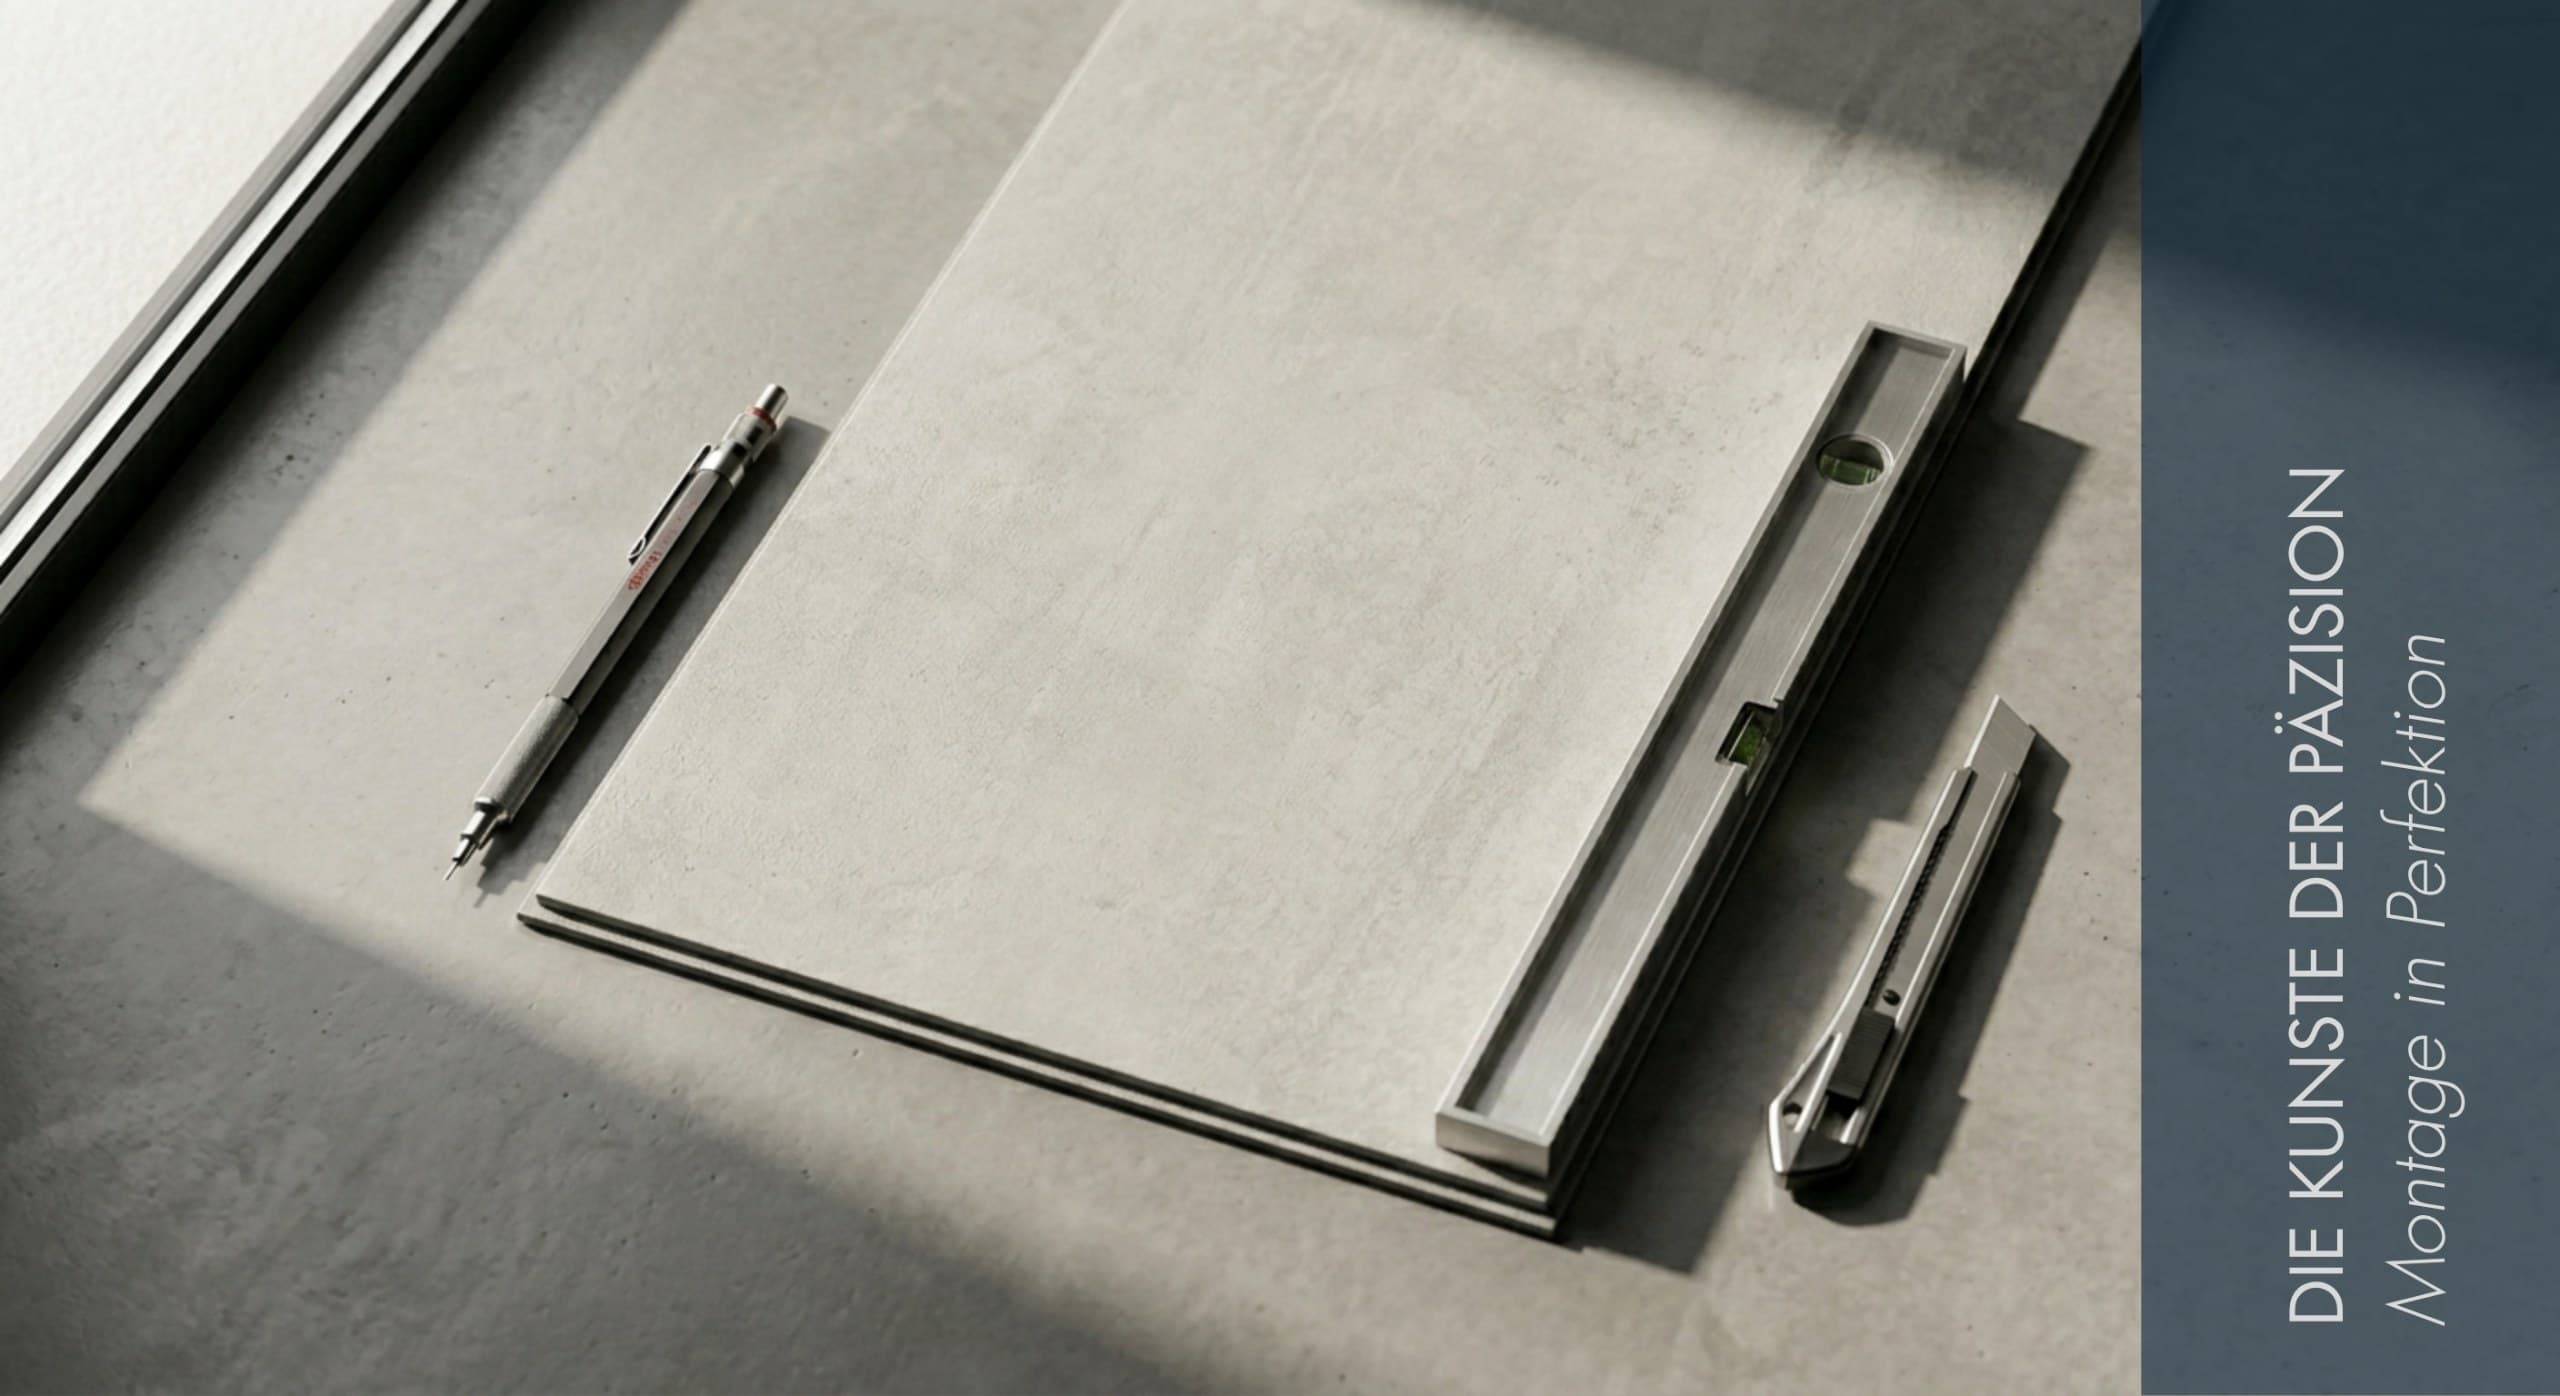
The Drop-Click installation of our NordPaneele is deliberately tool-sparse. You need:
- Utility knife or jigsaw — for cutting panels to length
- Spirit level (60 cm minimum) — for the first row
- Tape measure and pencil
- Rubber mallet — for occasional tapping, optional
- Mounting tape or construction adhesive — for attachment to the wall
Step 1: Acclimatize the Panels
Before installation: store panels for at least 24 hours in the room where they will be installed.
Step 2: Mark the Starting Line
The first row determines the rest. Use the spirit level to draw a horizontal line on the wall — this becomes the top edge of your first panel.
Step 3: Install First Row
First panel from left to right with the tongue side facing the wall. Check level, then place the next panel.
Step 4: Second Row with Offset
Offset the second row by one-third to half the panel length — similar to parquet flooring.
Step 5: Corners and Cutouts
For outlets and switches: mark the cutout, use a jigsaw or sharp knife. Work slowly to avoid splintering. Outer corners can be mitred (45°) or covered with corner profiles.
Step 6: Finishing Strips and Silicone
Top: ceiling strip. Bottom: skirting board. In bathrooms: silicone all edges against bathtubs, shower trays, sinks.
Most Common Mistakes
- No acclimatization — causes micro gaps weeks later
- Crooked starting line — propagates up the wall
- No expansion gap — panels buckle with temperature changes
- Wrong adhesive — panels slip during curing
- Wet substrate — mould grows behind panels
Want to test the click connection before committing? Order free samples any time.